Plimus
This article describes the process of configuration for Plimus payment integration in aMember ( http://home.plimus.com/ecommerce/ ).
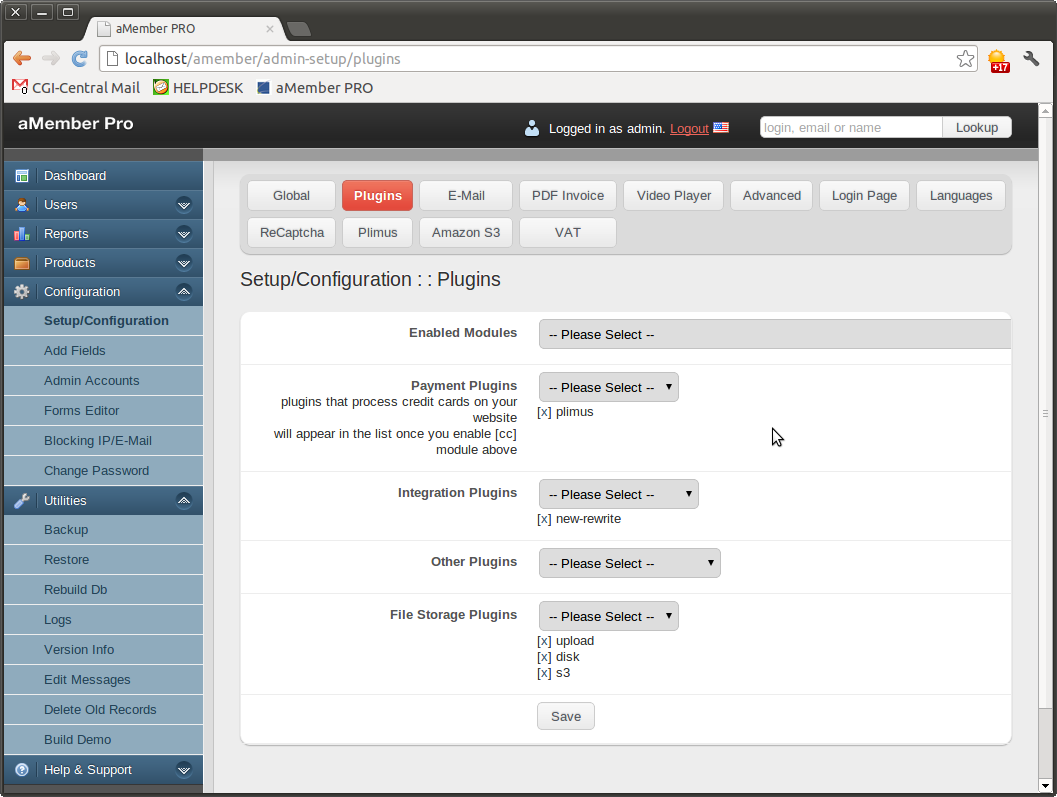
- Open aMember CP -> Configuration -> Add-ons and select Plimus from available payment plugins list.
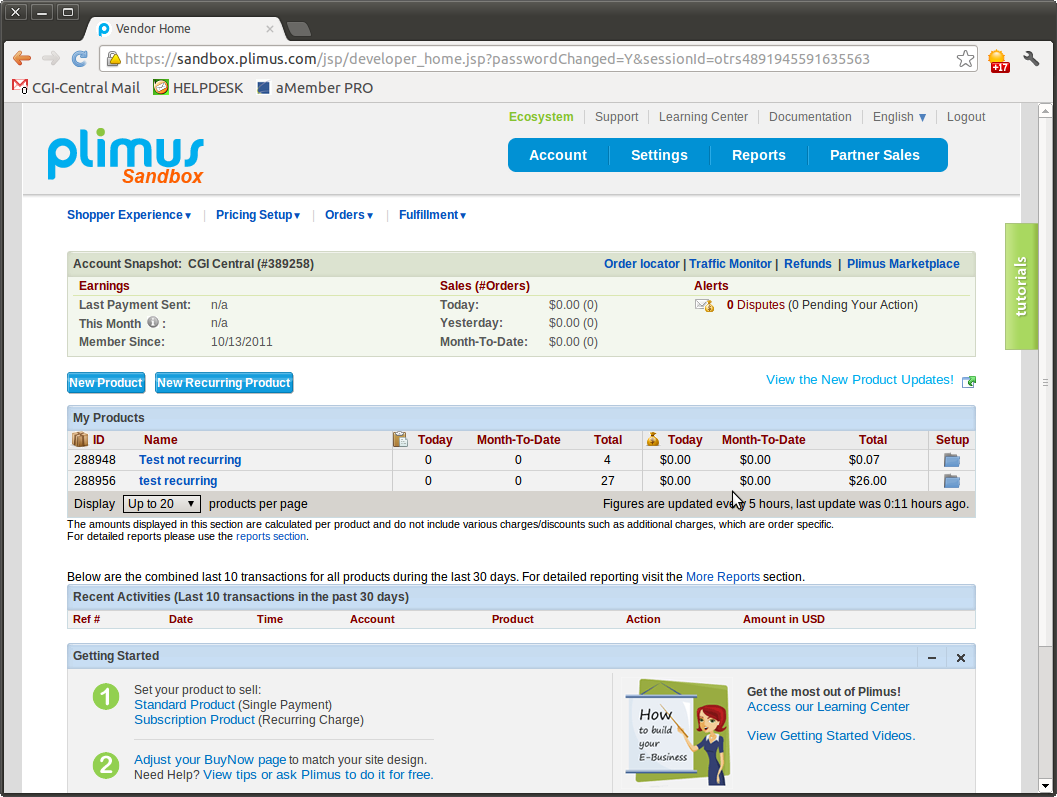
Login to your Plimus account through https://cp.plimus.com/jsp/developer_login.jsp?
Now you should see a list of products
(if you don't see any you need to create a product)
- Once you are inside a Product, you should see the list of contracts
(there will always be a default contract called "Full Version").
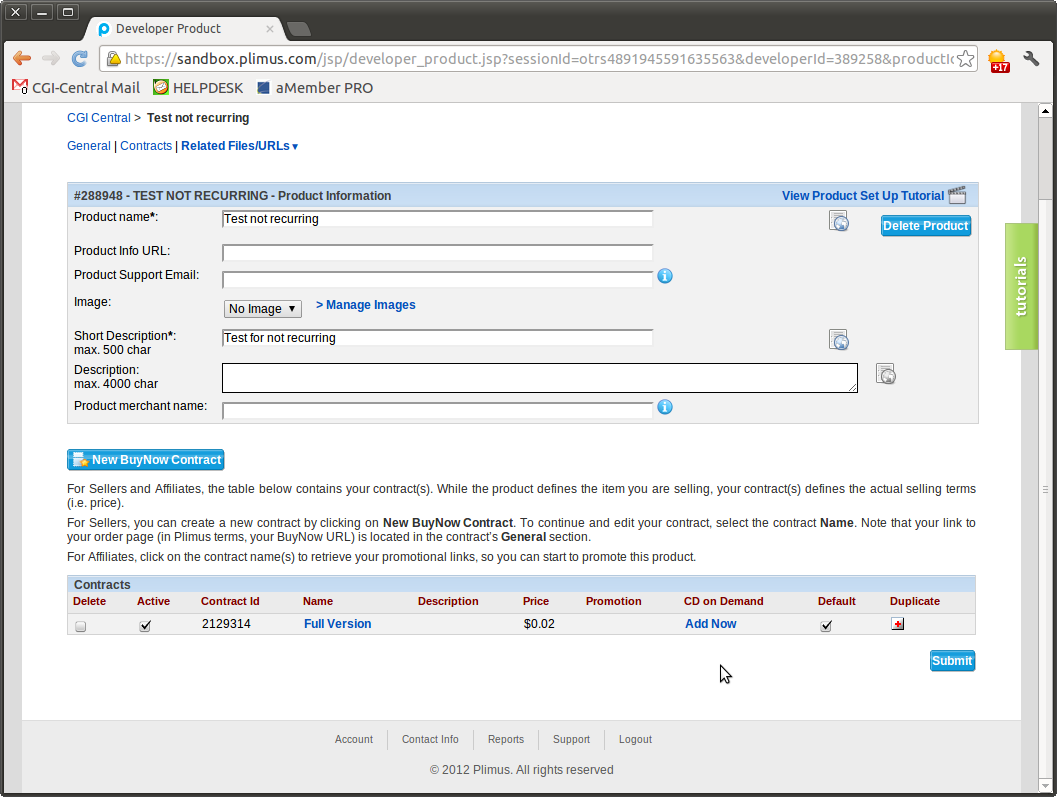
Write down the contract ID you will need it later.
- Please click on one of the contracts.
Now you are inside the contract settings.
In the contract General page, you need to select the checkbox to
“Receive Instant Payment Notifications (IPN)" and the select the radio
button “Use IPN URL as defined in General Settings” 
On the top of the page there is a line of options (colored blue), you will need to choose "Custom Fields".
You will have 10 custom fields to use, choose the first one and mark it as "Active".
Next step is to choose the title of the custom field, please set it to "custom1".
The type should be "Hidden".
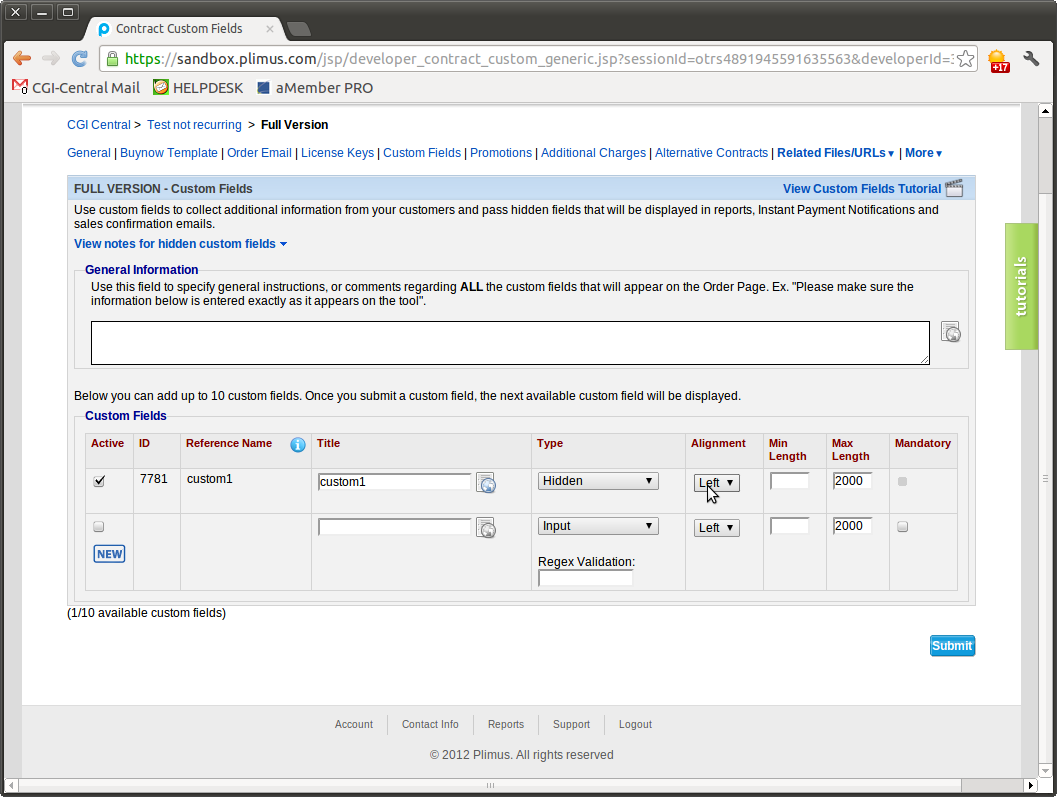
Custom field setup is required to get integration between aMember and Plimus working. aMember passes its own invoice ID in the custom1 field, and that value will be returned back to aMember in IPN message when payment is completed.
- Go to Settings -> General Settings and Configure IPN URL in your Plimus account to this URL:
http://example.com/amember/payment/plimus/ipn
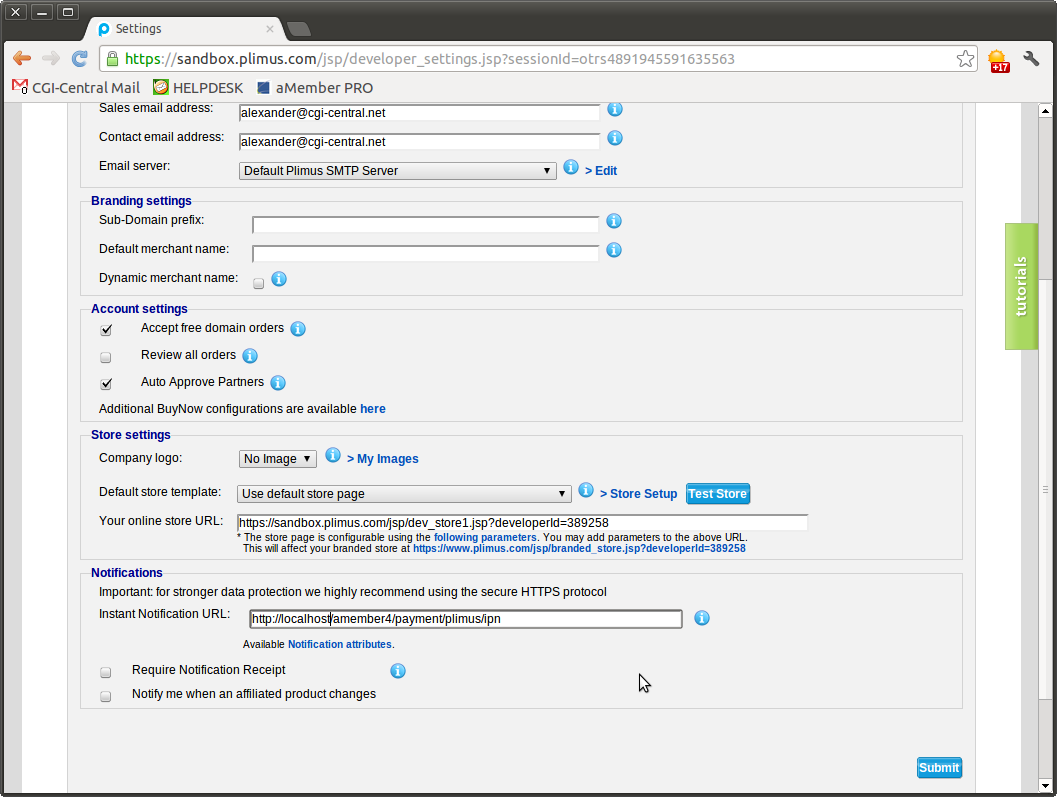
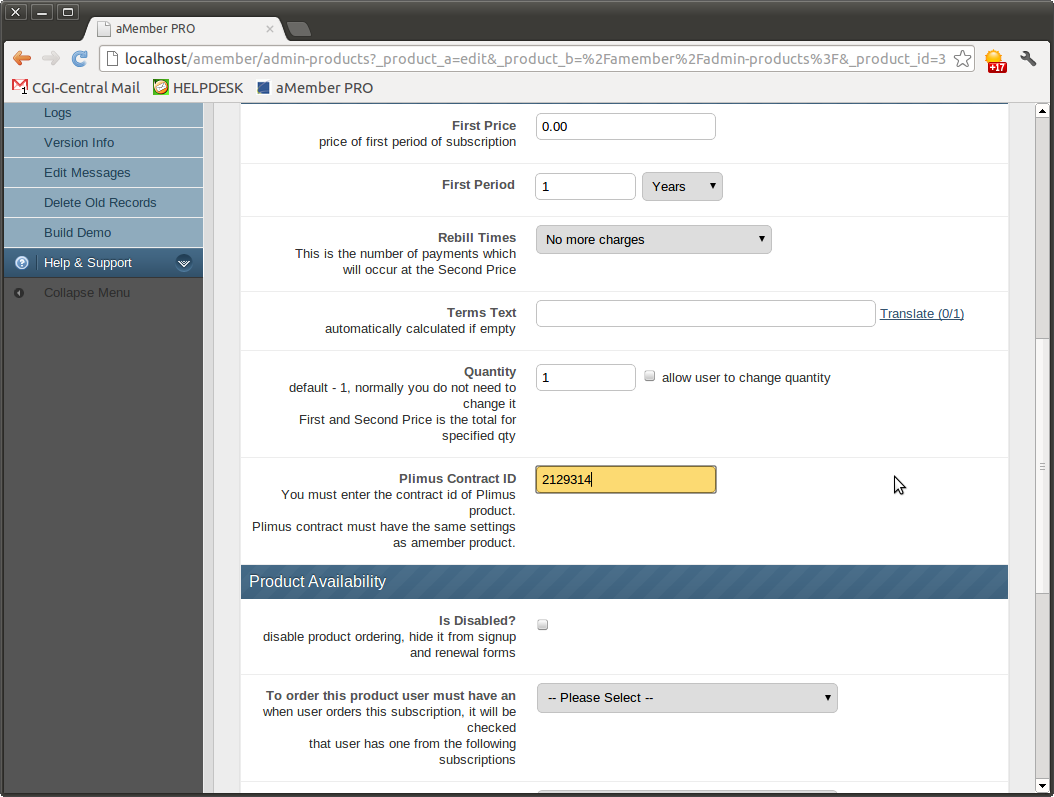
- Create separate product in aMember CP for each Plimus contract. And Specify Contract ID in aMember CP -> Manage Products -> Edit Product -> Plimus Contract ID
- If you want to test your integration before going live, you can enable Test Mode in aMember CP -> Configuration -> Setup/Configuration -> Plimus.
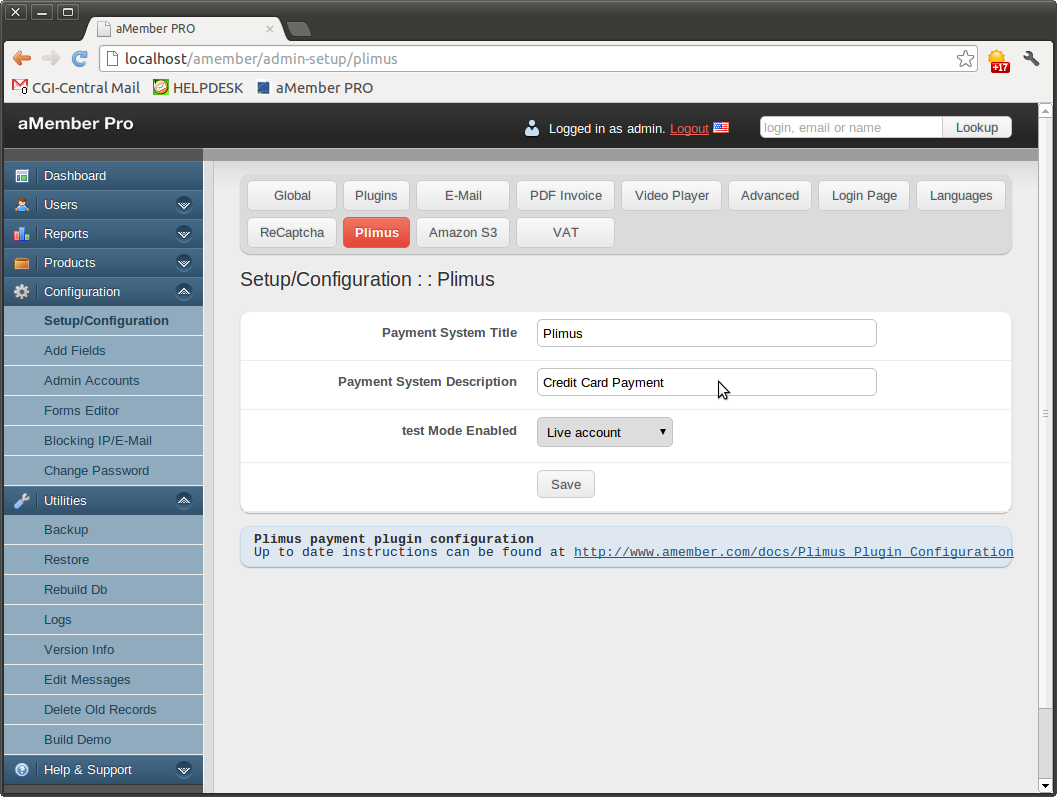
You can also change Paysystem Title and Description (users see this on signup page).